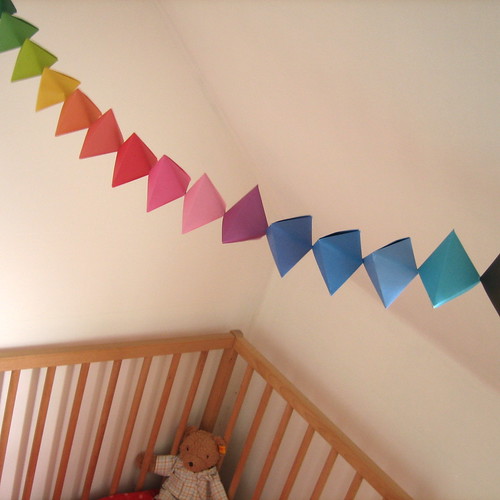
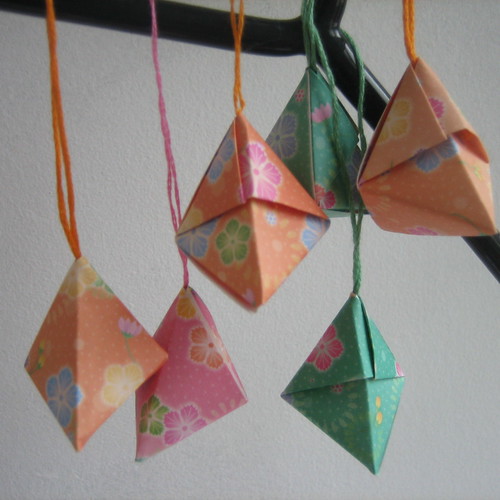
This is a simple but strong construction and once you get into the rhythm of making them you can create lots and string them together or hang them like baubles from your tree.
| You need a square of paper, I use 1/4 of a standard 80gsm (15x15) origami sheet or 7.5 cm x 7.5 cm Size doesn't really matter, as long as it is square. |
| Begin by folding your square in half diagonally and creasing, then fold by the other diagonal and crease |
| tuck one point inside the pocket created at the other |
| Fold down the last point, to create a square and crease. Fold the entire square diagonally and crease and release then fold along the other diagonal and crease again. |
| And tuck the front corner inside |
| squeeze the sides together slightly |
| Fold the longer flap inside the pocket now created on from the other flap (this bit can be tricky) |
| Voila! |
| Now make a bazillion more (or around 50 for a nice sized garland) |
If you found that difficult to follow I made this wee youtube video to help
Once you have your shape it is very simple to thread them all together to create a garland
Or secure a little loop of thread inside that last fold with a teeny bit of glue for some baubles
Hope you enjoy your Handmade Christmas x
Disclaimer: I got this design out of an old kids origami book that I no longer have. My folding technique has changed from the directions given in the book. I reckon it is a standard old design no longer under any copyright but if you know differently I am happy to attribute the copyright owner correctly... thankyou x
Edit to add - You can see another origami christmas decoration tutorial here


that looks fun - one more thing for my "to do" list!
ReplyDeleteThese handmade origamis are awesome, I wish you could do some more articles on handmade christmas decorations ideas, so that we can learn some more...
ReplyDelete