I have been complimented on the look of my photos by a few other crafters so here is a very quick and non-technical 'How To'(excuse the doodles, I couldn't find clip-art examples of the icons)
I use a relatively basic digital camera that is several years old
Canon digital IXUS 50 - 5.0 Megapixels
Canon digital IXUS 50 - 5.0 Megapixels
* * * * * * *
There are just 2 basic rules here:
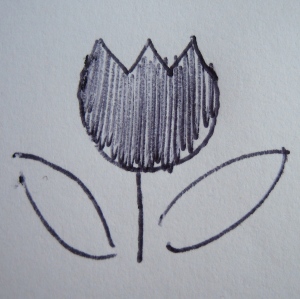
1. Use the macro button (it looks like a little tulip... it is for close ups)
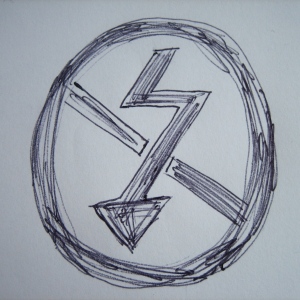
2. Use natural light and NO FLASH.
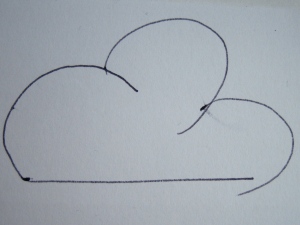
My camera doesn't seem to have a 'white balance' on it but it does give me the option of telling it what kind of light I am in, so I select the little cloud icon.
* * * * * *
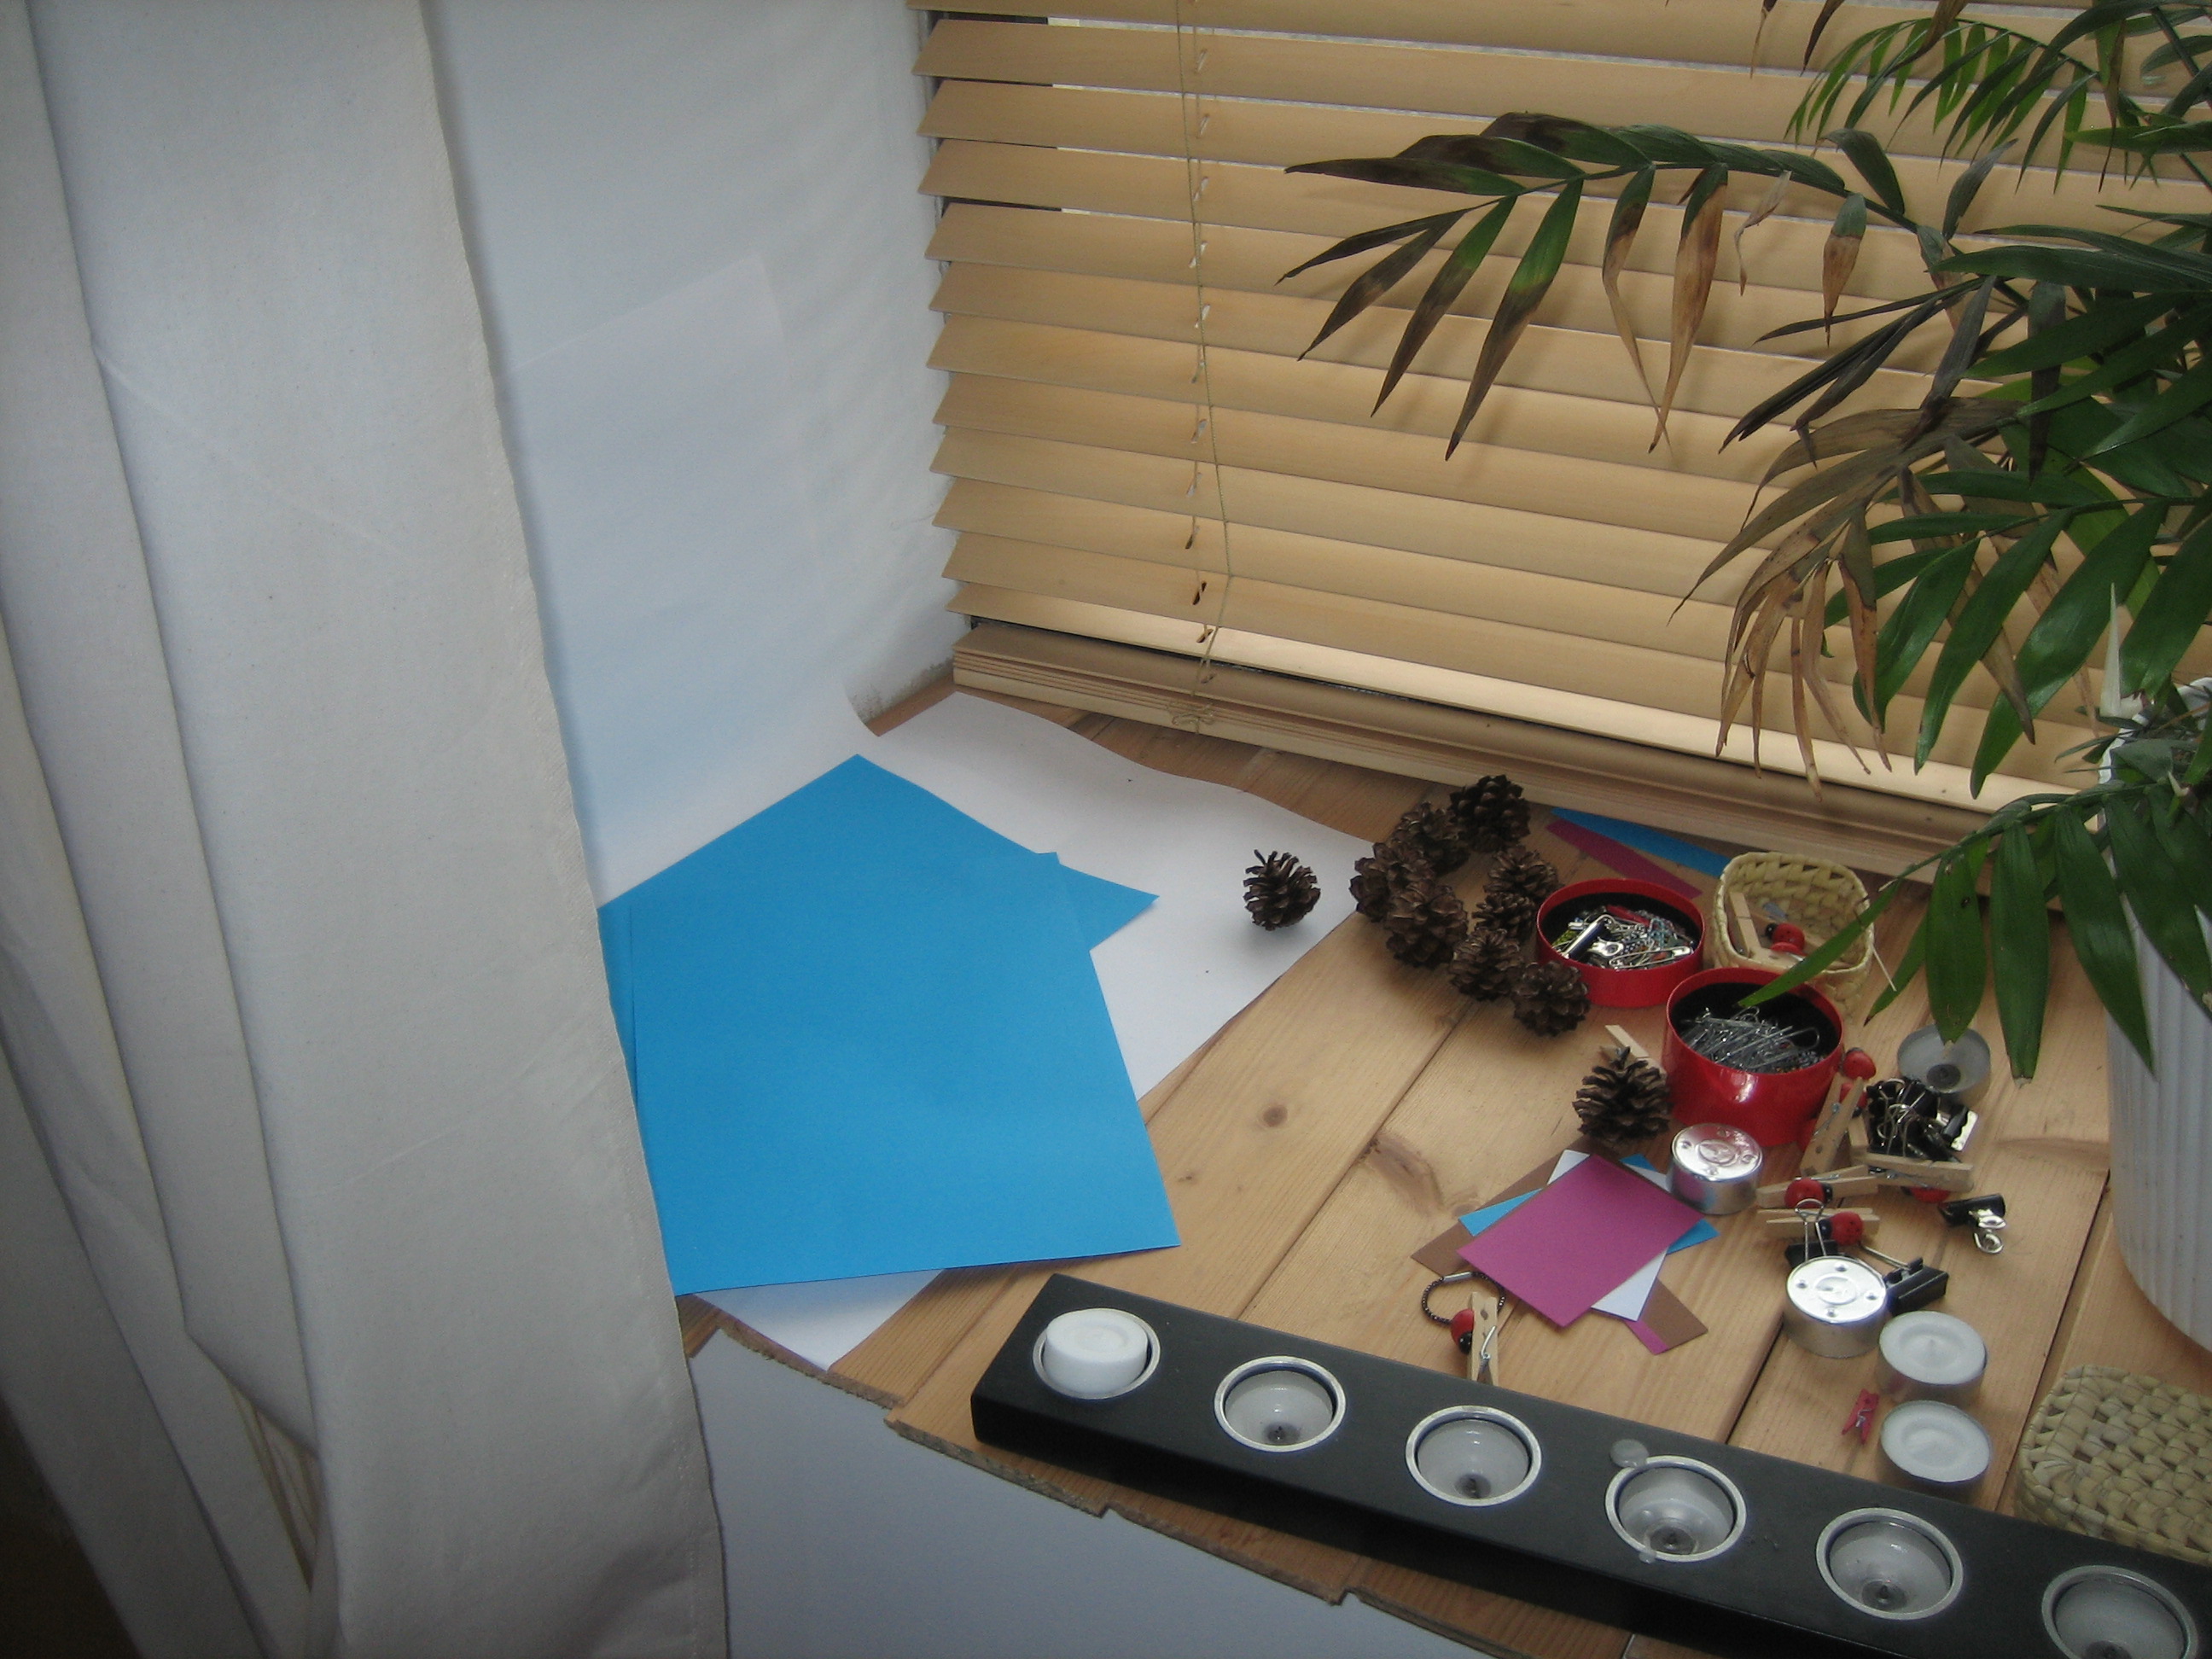
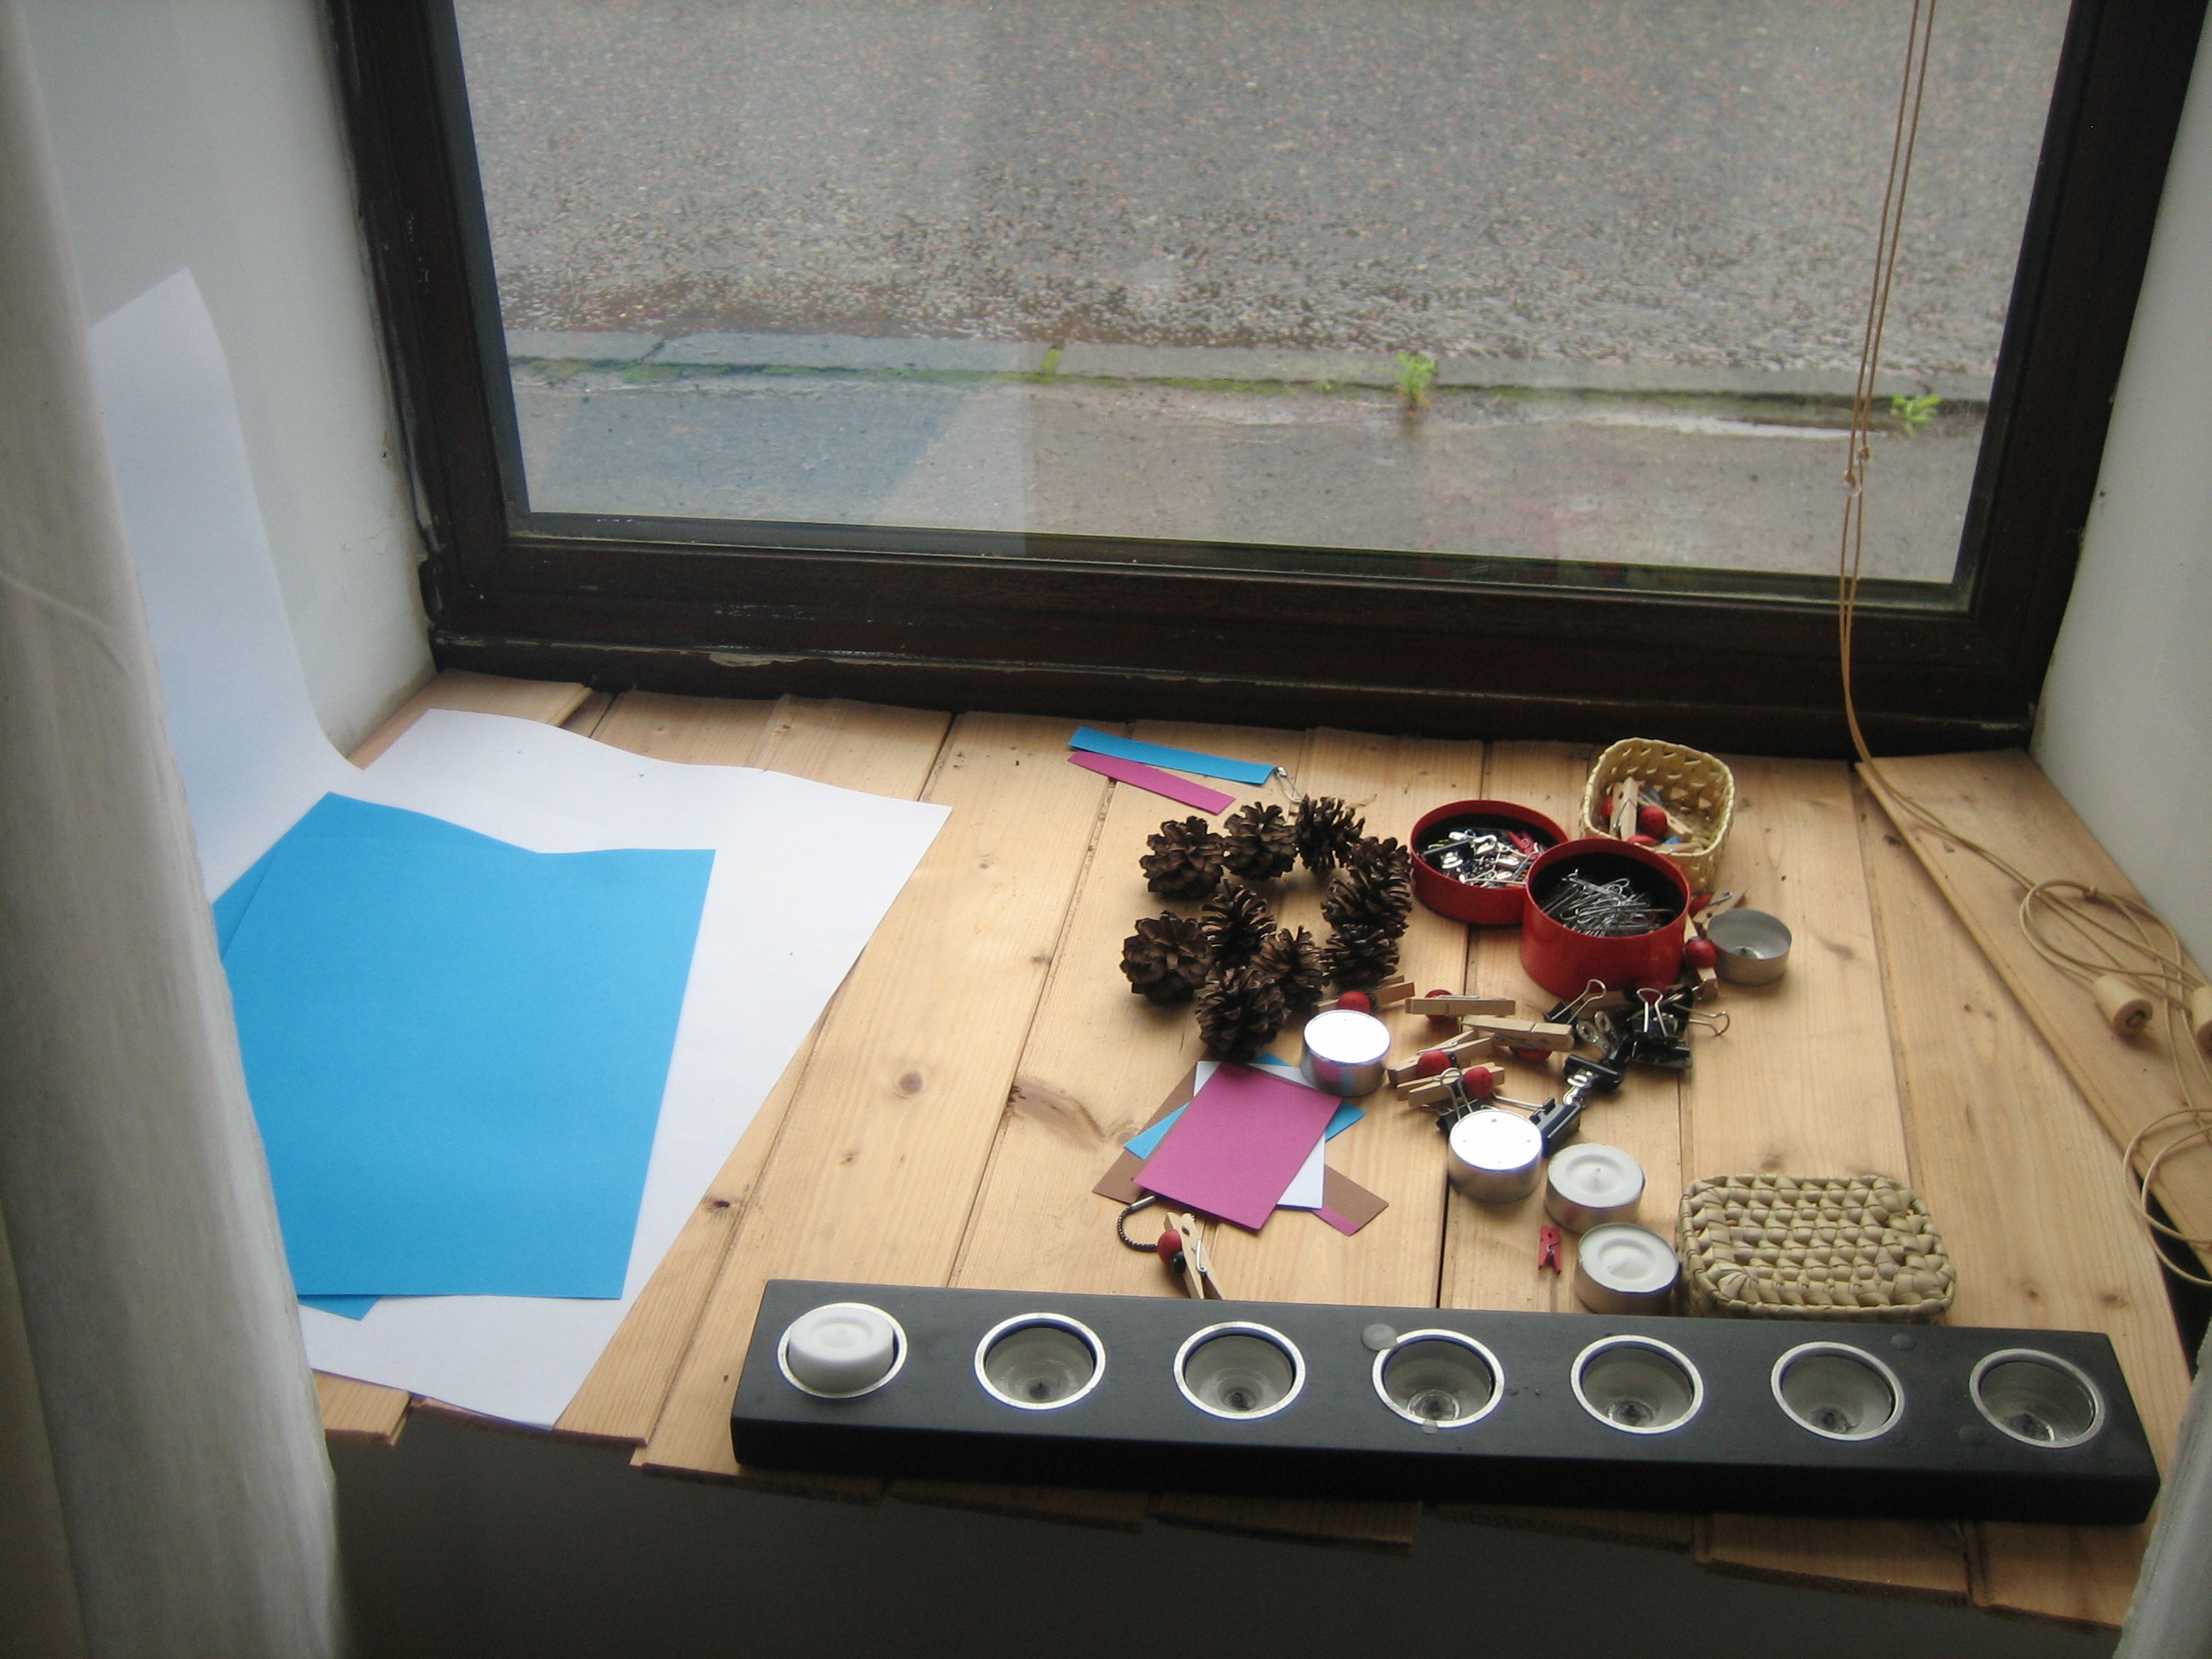
[caption id="attachment_57" align="aligncenter" width="288" caption="My state-of-the-art photo studio"]
 [/caption]
Yes, this is my photo studio... That's right, it is a window ledge. My props are busy creating what looks like a mess... it isn't a mess, it's a storage system :P
You want to increase the natural light levels as much as possible. I open the blind and pull one of the curtains closed to act as a reflector. Anything dark in the area will absorb light so try to have just white surfaces to allow the best light reflection for the area being photographed.
Don't take photos in direct sunlight, you will get shadows.
I set it up with a piece of paper underneath it and another piece behind it I usually use white, but occasionally another colour is better (you could do this with any type of paper, experiment till you get the look you are happy with)

Now take your photos.
I always take between 5 and 10 with my aim to have 5 really good finished photos, as this is what you want for your Etsy listing.
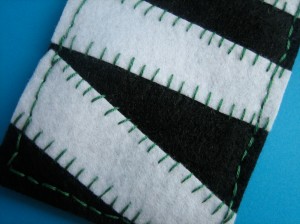
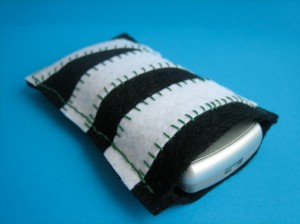
A good rule is to have one good close up, one good overall image, an image to show scale, and an image on a model or with contents (where applicable) Use the other photos to get some 'Arty' shots or what ever else looks good. I will use 2 examples here - one Arty and one close up as these are the types of shot I see people struggling with.
A good rule is to have one good close up, one good overall image, an image to show scale, and an image on a model or with contents (where applicable) Use the other photos to get some 'Arty' shots or what ever else looks good. I will use 2 examples here - one Arty and one close up as these are the types of shot I see people struggling with.
*
*
*
*
*
*
*
Once you have your photos you will need to put them on your computer and tweak it, just a little, to show your item in the best possible way.
I use iphoto (the basic photo application for mac) I personally don't think you need anything as complex as 'photoshop' but if you want to, do.
Now crop you photos.
I prefer to crop all my pictures to square (there should be a setting for a square crop on any photo application).
This means I get the choice as to what is lost around the edges - most online shops (Folksy, Etsy, etc) will crop your photo for you for thumbnails anyway, so it is best keeping the control yourself.
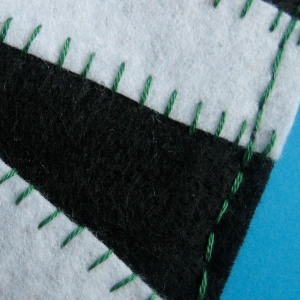
Try to also crop out all the background... we don't need to see the background it is just there to fill in the blanks. I t also doesn't matter if you loose part of your item, you will have 1 photo that will show the item in full (NB for full item image, sometimes the macro is not required, once again you must experiment) For your other photos be sure that your wonderful, beautiful item is filling the space available.
*
*
*
*
*
*
*
*
*
*
You might need to brighten your picture just a little. I try to bring the lightest part of white background up to the same colour of white as the surrounding screen. I increase the exposure setting a little.
You will need to play around with your photo application a bit until you find what works for you.
NB. sometimes brightening the background would require a drastic change in settings and therefore would alter the appearance of your item too much, in that case, please re-take your photos rather than deceiving potential customers.
Now you should be ready to list your item.
I suggest that you use one of your arty shots as the lead photo, then use a 'close up' and a 'full item' picture in the auxiluary pictures, with Folksy, that is all you get, with Etsy you have 2 more photos to play with.
I am confident that these rules apply (more or less) to any small item you would wish to sell, from a bag to a bracelet. For photos of larger items or with models (ie for a dress) I can't pretend to be an expert, but similar basic rules apply.
* * * * * * *
To recap, here are the bullet points:
Macro setting
No flash
Crop to square
Crop out as much background as you can
Use at least 3 photos (more if the space is available)
* * * * * * *
I have used these basic rules for a long time now, though, I am not a photography expert, far from it indeed... but... I know how long it took me to work these basics out and if I can help others get better photos of their stock online then I am a happy girl.
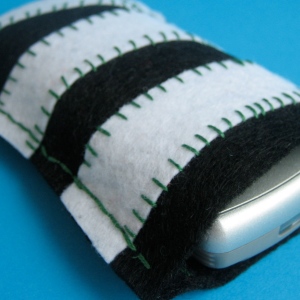
You can see this cell-phone pocket listed on Etsy here
Thankyou
Snowdrops x

great. love your little drawings. What a useful post! thanks for sharing your tips. I also use a window ledge and use the manual setting on my camera, it was a lot of trial and error but i've cracked it (i think!).
ReplyDeleteThanks for this article (I followed the Folksy thread). I'm always struggling with my photography so all help is welcome. We've just tried making a little light box at home and are just about ready to try it out so this advice should come in very useful!
ReplyDeleteGreat blog post! Very helpful and, yes, your little photos are excellent, really get things across easily.
ReplyDeleteGood to see I'm not the only person who uses a window sill as a photo studio!
Thanks again for this however much I know, I know it's not enough!
Great tutorial Snowdrops. All useful advice :)
ReplyDeleteGreat, easy to follow tips. People will find this really useful :)
ReplyDeleteHere is some great inspiration for jewelry photography, compiled by whoatemycrayons :)
ReplyDeletehttp://www.whoatemycrayons.com/wordpress/wordpress/photographing-jewellery-showcase/
great advice, I've been taking photos outside but it's very hit and miss with the Scottish weather and shadow is a big problem. I'm going to try and build a light box, Thanks!
ReplyDelete